I've been wanting to make these cupcakes for weeks now and I finally had a few days off work that I could really work on them! I hope you enjoy this post and the recipe (also spoiler alert: they are delicious!)
First off, your ingredients:
- 1 cup sugar ½ cup butter, softened to room temperature
- 2 eggs
- 1¾ cups all purpose flour, sifted
- 2 tsp baking powder
- ¼ teaspoon salt
- ¼ cup unsweetened cocoa powder, sifted
- 1 cup brewed coffee, chilled (use any kind you like, I used decaf since I can't have caffeine)
- ½ teaspoon vanilla extract
- ¼ cup semi sweet chocolate chips
My first step was to brew my coffee so I could throw it in the refrigerator (and later in the freezer) to chill while I got all my other ingredients ready.
After that I pre-measured a lot of the ingredients so I didn't have to worry about them too much (yes, I'm that person that reads a recipe like twelve times). You should pre-heat the oven right now to 350 degrees.
The very first step is to cream your butter and sugar together. I had no idea how to do this and wasn't sure if I would be able to do it by hand, but good old YouTube didn't let me down.
Here is the video I watched to teach myself how to cream the butter - it worked out great! (I used a rubber spoon/spatula). A great thing to remember is that you can't over cream the mixture and the longer you do it, the smoother it becomes, which helps your cupcake's consistency!
Mix together your flour, baking powder and cocoa powder in a separate bowl. Add the vanilla to your coffee (which should be chilled by now) and set them both aside.
Next add your eggs, one at a time, to the butter mixture and blend them well.
Finally you're going to start adding your dry ingredients and your coffee mixture to the butter/egg mixture. Add them gradually, one at a time. I did dry, mix, coffee, mix and over again. Then fold in your chocolate chips.
(Around this time, Elphie decided she wanted to help and parked herself in the middle of the kitchen and I almost tripped over her. Adorable.)
 |
I might have spilled a bit of flour on her.
Flour + black cat = pretty hilarious. |
When everything is all mixed together, it's time to fill your cupcake pan. About 1/4 a cup per liner. Then throw it in the oven and cook for about 20 minutes, or until you can put a toothpick inside and it comes out clean. (You are now required to lick your batter bowl while you wait, unless you're too scared of salmonella.)
 |
| Yuuuuuum! |
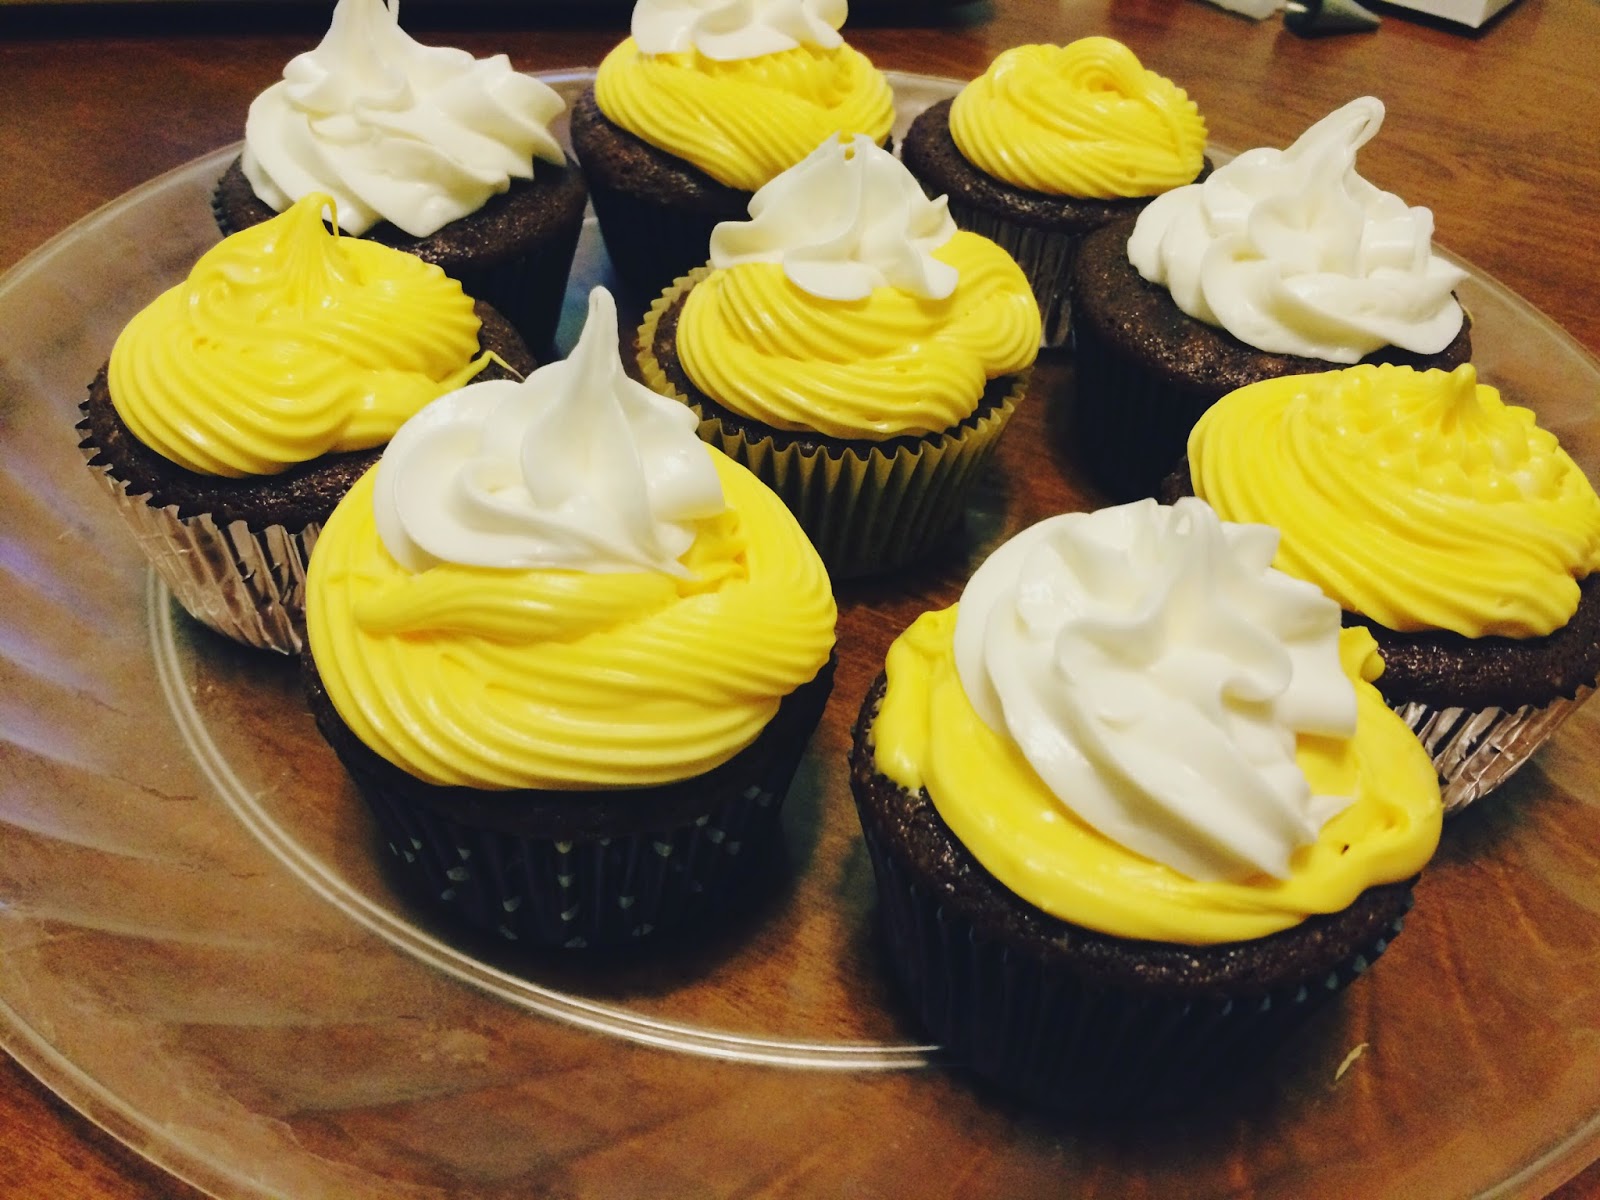
Next up: let your cupcakes cool completely. I basically cleaned up my mess (or your roommates/parents will be mad with you!) and then showered so I wasn't constantly checking them. When I came back from my shower they were ready to decorate - and here is the really fun part. I made them look like mini fraps from Starbucks.
.JPG) |
| I got these Cupcake Gems, which worked out great, because they made them look like a Carmel Ribbon Crunch! |
I bought icing bags and attachments to decorate, because I wanted the frosting to look like whipped cream on top of the cupcakes. I was nervous at first, because filling the bag can be a little tricky, but most will come with instructions and once again - YouTube is your friend if you want to see someone do it practically! The actually icing worked out amazingly. I felt like I was on Cupcake Wars or something! (Once again, you are now required to lick the spoon/spatula that you were using to get the icing into the bag.)
Next up: the Cupcake Gems!
Finally, I "borrowed" a few extra straws from the cafe where I work (Barnes and Noble) which brews Starbucks drinks. Obviously you can get them at an actual Starbucks, or buy a pack of green straws at the store. I cut them up, about an inch or so (though I should have gotten an extra straw because I had to cut a few in half because I didn't have enough). Then you stick them in the cupcake and frosting, making it look like a straw!
And done! The next test is obviously the taste test. I took one where the frosting wasn't the prettiest and it was so good. You can taste the coffee - though I imagine that regular coffee might be stronger than decaf. There are also a lot of possibilities with flavored coffee: hazelnut, glazed chocolate donut (which my roommate loves!), or whatever else you like to have in the mornings. That is definitely a good personal touch. And if you don't want them to be chocolate cupcakes, leave out the cocoa powder and maybe add something else. Experiment a little!
I hope you enjoyed this and I wish I could let you try some. I was going to take this to work, but I think this batch will be for roommate consumption only and I'll make another for my co-workers later.
Until next time, Rose




.JPG)
.JPG)
.JPG)
.JPG)
.JPG)
.JPG)
.JPG)